Mastering MVVM on macOS: A Comprehensive Guide for Swift Developers
Model-View-ViewModel (MVVM) is a powerful architectural pattern that has gained significant traction in the iOS and macOS development communities. It provides a structured way to separate the UI (View) from the business logic and data (Model), with the ViewModel acting as a bridge. This guide will walk you through implementing MVVM on macOS using Swift, focusing on practical examples.
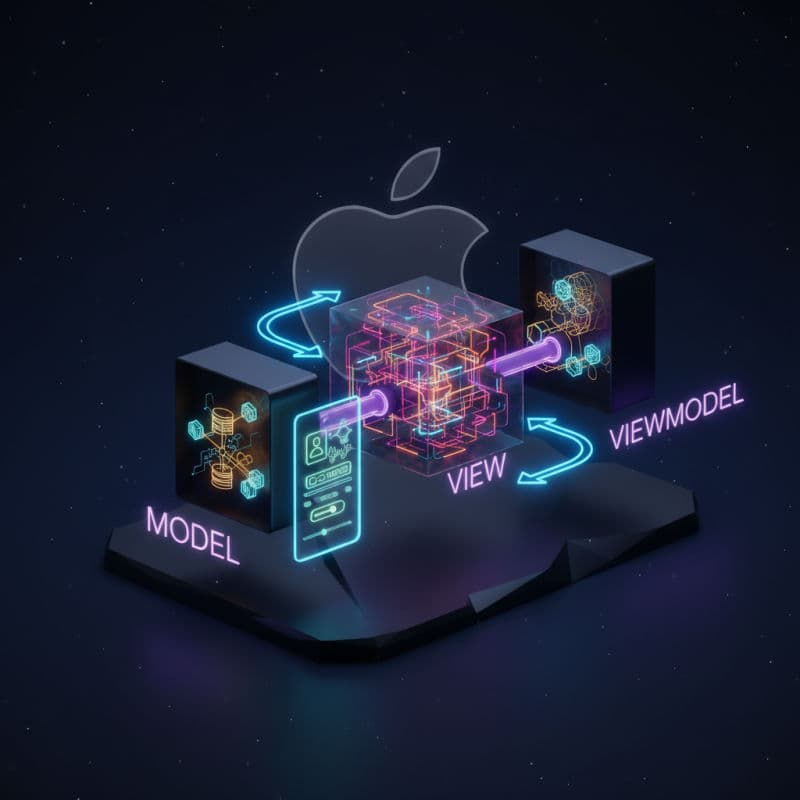
Understanding the MVVM Pattern
Before diving into implementation, let's solidify our understanding of MVVM's core components:
-
Model: This represents your data and business logic. It's application-specific and entirely independent of the UI. Models might manage data persistence (e.g., Core Data, Realm), network requests, or complex calculations. They should ideally be plain Swift structs or classes.
-
View: This is the UI layer that the user interacts with. On macOS, this could be a
NSViewControllerwith its associatedNSViewhierarchy, or a SwiftUIView. The View's primary responsibility is to display data from the ViewModel and forward user actions to the ViewModel. It should be as 'dumb' as possible, containing minimal logic. -
ViewModel: This is the heart of MVVM. It acts as an intermediary between the Model and the View. The ViewModel exposes data from the Model in a format that the View can easily display and processes user input from the View, updating the Model accordingly. Crucially, the ViewModel should have no direct knowledge of the View — it communicates through bindings or delegates. It transforms Model data into View-friendly properties and commands.
The key benefits of MVVM include improved testability (especially for the ViewModel), better separation of concerns, and easier collaboration among team members. When working with SwiftUI on macOS, MVVM aligns beautifully with SwiftUI's declarative nature and property wrappers like @ObservedObject and @StateObject.
Setting Up Your macOS Project with MVVM
Let's consider a simple macOS application that displays a list of tasks. We'll implement this using MVVM. We'll start by defining our Model and then create the ViewModel and View components.
First, define your Task model. This will be a simple struct conforming to Identifiable for use in Lists.
Next, let's create a TaskService responsible for managing our tasks (e.g., fetching, adding, removing). In a real application, this service might interact with a database or a network API. For simplicity, we'll use an in-memory array.
Now we have our basic Model components. Remember, these are completely independent of any UI framework.
Building the ViewModel for macOS
The TaskListViewModel will expose the tasks to the View and handle user interactions like adding, toggling completion, or deleting tasks. This ViewModel will conform to ObservableObject so that our SwiftUI View can react to its changes. You'll use the @Published property wrapper to automatically notify SwiftUI when properties change.
Notice that TaskListViewModel exposes an array of TaskViewModel objects, further isolating the Task model from the View. This allows TaskViewModel to handle presentation logic specific to how a single task is displayed (e.g., formatting dates, converting raw values).
Crafting the SwiftUI View for macOS
Now, let's create the SwiftUI View for our task list. This View will observe the TaskListViewModel and react to its changes. We'll use @StateObject to ensure the ViewModel's lifecycle is tied to the View that owns it, making it ideal for the root View of a feature.
And finally, in your App file (e.g., YourAppNameApp.swift for a default SwiftUI app lifecycle):
This setup provides a clear separation: the TaskListView (View) observes the TaskListViewModel, which in turn manages and exposes TaskViewModel objects derived from the Task model and interacted with via TaskService. User actions in the View call methods on the ViewModel, which then orchestrates changes to the Model and updates its published properties, triggering UI refreshes. This pattern works beautifully with macOS 11.0+ (Big Sur and later) for SwiftUI applications.
Advantages and Considerations of MVVM on macOS
Advantages:
- Testability: Views are notoriously difficult to unit test. With MVVM, you can unit test your
ViewModels in isolation, ensuring your business logic and data transformations are correct without needing to render the UI. - Separation of Concerns: Each component has a clear, focused responsibility, leading to more organized and maintainable codebases.
- Reusability: ViewModels can potentially be reused across different Views (e.g., a detail view for a task could use a
TaskViewModel). Models are entirely reusable. - Designer-Developer Collaboration: UI designers or front-end developers can work on the View while backend or logic developers focus on the Model and ViewModel, reducing dependencies.
- SwiftUI Compatibility: MVVM naturally integrates with SwiftUI's declarative paradigm and its observation mechanisms (
@ObservedObject,@StateObject,@EnvironmentObject).
Considerations:
- Overhead for Simple Apps: For very small, simple applications, MVVM might introduce unnecessary abstraction and boilerplate. Choose the right architecture for your project's scale.
- Complexity: As ViewModels grow larger, they can become 'massive ViewModels'. Careful design and potentially further decomposition (e.g., using child ViewModels or helper objects) are necessary to keep them manageable.
- Data Binding: While powerful, managing complex data binding flows, especially with Combine, requires a good understanding of the framework to avoid memory leaks or unexpected behavior.
- Decision to use
NSViewControllervs. pure SwiftUI: If you're building a traditional AppKit app or mixing AppKit with SwiftUI, your 'View' layer might still involveNSViewControllers. In such cases, theNSViewControllerwould hold a reference to theViewModeland update itsNSViewelements based on ViewModel changes, potentially using KVO or Combine for observation. FormacOS 10.15+(Catalina and later), you can embed SwiftUI views withinNSViewControllerusingNSHostingController.
Common Interview Questions
What's the main difference between MVVM and MVC on macOS?
The primary distinction lies in how the View and Model communicate. In MVC (`Model-View-Controller`), the `Controller` typically handles direct updates between the `View` and `Model`. With MVVM, the `ViewModel` acts as the intermediary, providing a prepared, testable representation of the data to the `View`. Crucially, the View observes the ViewModel, and the ViewModel has no direct knowledge of the View, improving testability and separation. macOS's traditional AppKit heavily uses MVC, where `NSViewController` is a central orchestrator.
When should I use `@ObservedObject` versus `@StateObject` with MVVM in SwiftUI for macOS?
`@StateObject` should be used for creating and owning a ViewModel within a View. It ensures the ViewModel's lifecycle is managed by SwiftUI, persisting across View updates. Use it when a View is the sole owner of a ViewModel. `@ObservedObject` is used when a View receives a ViewModel that is already created and owned by another source (e.g., a parent View, an `EnvironmentObject`, or injected via a factory). It observes changes on that existing object without taking ownership of its lifecycle. Always prefer `@StateObject` for the initial creation of a ViewModel to avoid reinitializing it.
Can I use MVVM with AppKit on macOS, or is it only for SwiftUI?
Yes, you can absolutely use MVVM with AppKit. In an AppKit-based MVVM setup for macOS (compatible with `macOS 10.10+`), your `NSViewController` would serve as the 'View' and would hold a strong reference to your `ViewModel`. Instead of `@ObservedObject` or `@StateObject`, you would manually set up bindings. This is often achieved using Combine publishers, Key-Value Observing (KVO), or delegates/callbacks from the ViewModel to update UI elements within the `NSViewController` and its associated `NSView`.