Mastering SceneDelegate in UIKit: Lifecycle Management & Multitasking
Since iOS 13, SceneDelegate has become central to managing app windows and their lifecycles independently, especially crucial for multitasking and multi-window support on iPadOS. This guide will walk you through its essential methods and how to effectively use it in your UIKit applications.
Introduction to SceneDelegate and Its Role in UIKit
Before iOS 13, AppDelegate was solely responsible for managing the entire application's lifecycle, including app state changes and UI setup. However, with the introduction of iPadOS and multi-window support, Apple needed a more granular way to manage individual UI instances (scenes).
Enter SceneDelegate. Introduced in iOS 13 and later, SceneDelegate now handles the lifecycle of a single instance of your app's UI, known as a 'scene'. An application can have multiple scenes, each with its own UIWindow and view hierarchy, allowing users to interact with different app instances simultaneously, for example, two Safari windows or two Notes instances open side-by-side on an iPad.
This separation of concerns allows AppDelegate to focus on application-wide event handling (like didFinishLaunchingWithOptions or push notification registration), while SceneDelegate focuses on scene-specific events (like scene connection, disconnection, activation, and backgrounding).
Understanding SceneDelegate is crucial for developing modern UIKit applications that properly support multitasking and adapt to the advanced capabilities of iPadOS and macOS Catalyst.
Setting Up Your Main Window with SceneDelegate
When a new scene is created and connected to your app, the SceneDelegate is responsible for configuring its initial UI. This process begins in the scene(_:willConnectTo:options:) method. This is where you instantiate your app's UIWindow, assign a rootViewController, and make the window key and visible.
Traditionally, in AppDelegate, application(_:didFinishLaunchingWithOptions:) handled this. Now, for iOS 13 and later, if your app supports scenes (which most do by default), this logic belongs in SceneDelegate.
Let's look at a typical implementation:
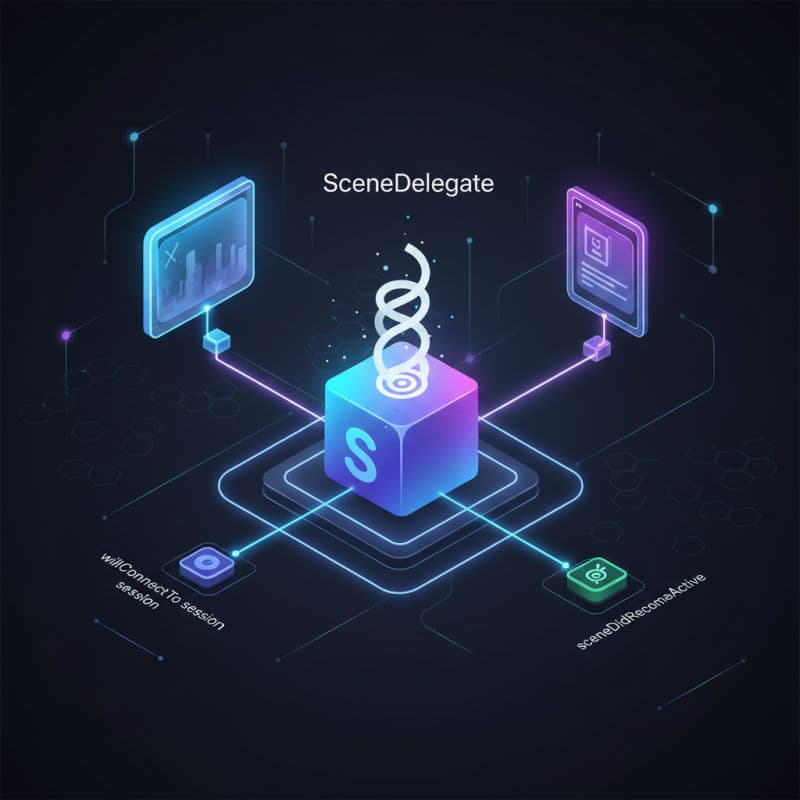
Understanding Scene Lifecycle Methods
The SceneDelegate provides several crucial methods that allow you to respond to changes in a scene's lifecycle. These methods are analogous to the AppDelegate methods for the application as a whole, but they operate on a per-scene basis. Knowing when and how to use each is key to robust app behavior.
sceneDidDisconnect(_:)
This method is called shortly after sceneWillResignActive(_:) when a scene is disconnected from the app. This can happen when a user explicitly closes a scene (e.g., swiping it away on iPad), or when the system decides to release resources. You should clean up any scene-specific resources that you no longer need here.
sceneWillEnterForeground(_:)
A scene transitions to the foreground. This is a good place to resume tasks that were paused when the scene went into the background, like refreshing UI, restarting animations, or resuming network activity. It's called after sceneDidBecomeActive(_:) if the scene was previously in the background.
sceneDidBecomeActive(_:)
This method is called when the scene has become active and is now the primary scene for user interaction. You should use this method to restart any user-facing tasks or timers, refresh data, or perform any actions that should happen when the user is actively using the scene.
sceneWillResignActive(_:)
When a scene is about to become inactive (e.g., the user switches to another app or the system presents an alert over your app). This is your last chance to save user data, pause ongoing tasks like timers or animations, and prepare for potential backgrounding. It's safe to assume the user might not return to this scene for a while.
sceneDidEnterBackground(_:)
Your scene has moved to the background. In this state, your app should release shared resources, save user data, and stop any background processes that aren't critical. The system can terminate backgrounded apps at any time to free up memory, so ensure your state is saved before this method completes.
These methods are vital for maintaining a good user experience by properly managing resources and data throughout the scene's lifetime. Always save critical user data by the time sceneWillResignActive or sceneDidEnterBackground is called.
Handling URLs and User Activities with SceneDelegate
Beyond basic lifecycle management, SceneDelegate also plays a vital role in handling incoming user activities and URLs, particularly for continuing activities (like Handoff) or deep linking. These responsibilities were previously handled by AppDelegate but have moved to the SceneDelegate to allow for scene-specific routing.
scene(_:openURLContexts:)
This method is invoked when your app is asked to open a resource specified by one or more URLs. This is crucial for deep linking, where a URL might launch your app or bring an existing scene to the foreground and direct it to specific content. Each UIOpenURLContext contains a URL and source application information.
scene(_:continue:)
This method is called when your app receives a NSUserActivity object, typically from features like Handoff, Universal Links, or Siri Suggestions. You should inspect the userActivity.activityType to determine how to respond and then update your UI accordingly to continue the user's activity. Ensure you return true if you handled the activity, false otherwise.
By implementing these methods, you ensure that your app can seamlessly integrate with system features and provide a rich, connected user experience across devices and within your own app instances.
SceneDelegate and SwiftUI App Lifecycle
It's important to note that if you're developing a new app using SwiftUI's App protocol (introduced in iOS 14 and later), SceneDelegate and AppDelegate are largely abstracted away. The App protocol provides a declarative way to manage your app's lifecycle and scenes directly within SwiftUI.
In this SwiftUI App structure, WindowGroup effectively takes over the role of managing a scene and its UIWindow. You no longer directly interact with SceneDelegate methods. However, for hybrid apps or apps targeting iOS 13, SceneDelegate remains crucial. Even in SwiftUI apps, AppDelegate can still be used for application-wide tasks not covered by the App protocol, such as push notification registration, using the @UIApplicationDelegateAdaptor property wrapper.
For most modern SwiftUI-only apps (iOS 14+), you won't need to write SceneDelegate code. But for UIKit apps or apps that support iOS 13, its understanding is non-negotiable.
Common Interview Questions
What is the main difference between AppDelegate and SceneDelegate?
The main difference is their scope of responsibility. `AppDelegate` manages the overall application lifecycle and app-wide events (e.g., launching, terminating, push notifications). `SceneDelegate`, introduced in iOS 13, manages the lifecycle of individual UI instances or 'scenes' (e.g., a single window on an iPad). An app can have multiple `SceneDelegate` instances, each handling its own UI lifecycle, whereas there's only one `AppDelegate`.
Do I need to use SceneDelegate if my app targets only iOS 14 and later?
If your app is built entirely with SwiftUI using the `App` protocol (introduced in iOS 14), you generally do not need to implement `SceneDelegate`. The `App` protocol and its `Scene` types (like `WindowGroup`) abstract away the responsibilities of `SceneDelegate`. However, if you have a hybrid app, need to support iOS 13, or are using specific UIKit lifecycle features, `SceneDelegate` might still be relevant.
How do I communicate between my SceneDelegate and my ViewController?
You can communicate between your `SceneDelegate` and `ViewController` in several ways. A common approach is to access the `window` property from `SceneDelegate` to get the `rootViewController`, then potentially cast it to your specific view controller type and call methods on it. Alternatively, you can use NotificationCenter to send broadcast messages that your view controllers can observe. For instance, when handling a deep link in `SceneDelegate`, you can post a notification that your main view controller observes to navigate to the correct screen.