Mastering Code Signing in Swift & Xcode for iOS Developers
Code signing is a critical, yet often misunderstood, aspect of iOS development. It ensures the integrity and origin of your applications, allowing them to run on Apple devices and be distributed through the App Store. This guide will demystify the process, helping you master code signing in Xcode.
What is Code Signing and Why is it Essential?
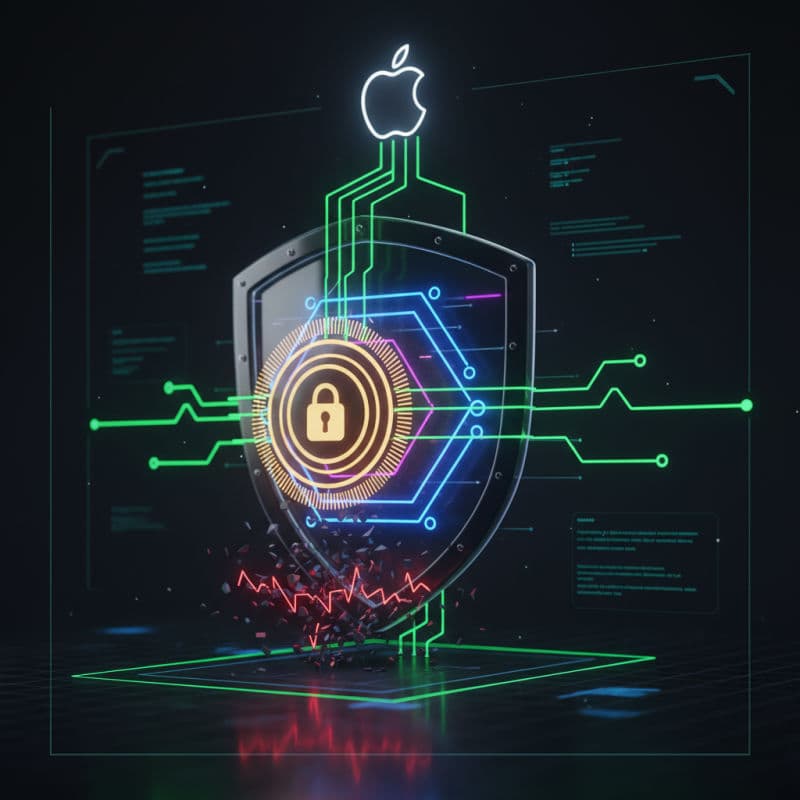
Code signing is Apple's security mechanism that guarantees your app's integrity and validates its author. Think of it as a digital signature. When you build an iOS app, Xcode 'signs' it with a digital certificate. This signature allows the operating system (iOS) to verify that the app hasn't been tampered with since it was signed and that it comes from a trusted developer.
Without proper code signing, your applications simply won't run on physical iOS devices, nor can they be distributed via the App Store, TestFlight, or enterprise channels. It's a fundamental requirement that underpins the entire Apple ecosystem's security model. It prevents malicious actors from injecting code into your app after you've built it, protecting both users and developers.
For Swift developers, understanding code signing isn't just about getting your app to launch; it's about appreciating the security framework that protects millions of users. It involves several components: your Apple Developer Account, signing certificates, and provisioning profiles, all working together seamlessly.
The Core Components: Identity and Trust
To truly understand code signing, you need to grasp its two main components: Signing Identities (Certificates) and Provisioning Profiles.
Signing Certificates
Signing certificates establish your identity as a developer. They come in two primary types:
- Development Certificates (Apple Development): Used for developing and debugging your app on registered devices. This certificate allows Xcode to build and install your app for testing.
- Distribution Certificates (Apple Distribution): Used for submitting your app to the App Store, TestFlight, or for enterprise distribution. This certificate ensures that Apple can verify your identity when you submit your final build.
Both types are stored in your macOS Keychain Access. When you or Xcode request a certificate, a cryptographic key pair is generated: a private key (stored securely on your Mac) and a public key (embedded in the certificate and stored on Apple's servers). The private key is crucial – never share it! It's used to digitally sign your app.
Provisioning Profiles
A provisioning profile is a file that bundles your signing certificate, a list of allowed device IDs, and an App ID. It defines who can install which app on which devices and with what capabilities. There are also two main types:
- Development Provisioning Profiles: Link your development certificate, your App ID, and a set of registered test devices. This profile tells iOS that your app is allowed to run on those specific devices for development purposes.
- Distribution Provisioning Profiles:
- App Store: Links your distribution certificate and App ID. It allows your app to be submitted to the App Store for public distribution. It doesn't include specific device IDs because the App Store handles device eligibility.
- Ad Hoc: Similar to App Store, but includes a specific list of up to 100 registered test devices. Useful for distributing pre-release versions to a limited set of testers without using TestFlight.
- Enterprise (In-House): For organizations to distribute their proprietary apps to their employees without using the App Store. Requires an Apple Developer Enterprise Program membership.
Provisioning profiles are downloaded to your Mac and installed with Xcode. They are then embedded within your app bundle when you build it, allowing iOS to check against Apple's servers for validity when the app attempts to launch.
Automated vs. Manual Signing in Xcode
Xcode offers two ways to manage code signing: Automated Signing (recommended) and Manual Signing.
Automated Signing (Recommended)
Since Xcode 7, Apple has vastly simplified code signing for most developers. With Automated Signing, Xcode handles the heavy lifting:
- It automatically creates and manages your signing certificates (development and distribution).
- It generates and updates your provisioning profiles.
- It registers new test devices with your developer account.
To enable Automated Signing:
- Select your project in the Xcode Project Navigator.
- Go to the 'Signing & Capabilities' tab for your target.
- Ensure 'Automatically manage signing' is checked.
- Select your 'Team' (your Apple Developer Account) from the dropdown.
Xcode will communicate with your Apple Developer Account to create or download the necessary assets. This is the simplest and most common approach for individual developers and small teams. It works reliably for development and App Store submissions (macOS 10.15+, iOS 9.0+, tvOS 9.0+, watchOS 2.0+).
Manual Signing
While Automated Signing is preferred, there are scenarios where you might need to use Manual Signing, such as specific enterprise setups, CI/CD pipelines without full Xcode access to developer accounts, or troubleshooting complex issues.
With Manual Signing, you are responsible for:
- Creating and revoking certificates manually via the Apple Developer website.
- Creating, downloading, and managing provisioning profiles for each app ID and configuration (development, App Store, Ad Hoc).
- Ensuring the correct certificate and profile are selected in Xcode.
To configure Manual Signing:
- Uncheck 'Automatically manage signing' in your target's 'Signing & Capabilities' tab.
- For each build configuration (Debug, Release), manually select the appropriate 'Provisioning Profile' and 'Signing Certificate' (Identity) from the dropdowns.
This method requires a deeper understanding of each component and careful management.
Troubleshooting Common Code Signing Issues
Code signing errors can be frustrating, often presenting cryptic messages. Here are some common issues and how to resolve them:
- 'Failed to create provisioning profile': This usually means there's an issue with your Apple Developer account — your membership might have expired, or you might not have the correct permissions. Check your account status on developer.apple.com.
- 'No profiles for 'com.yourcompany.YourApp' were found': Xcode can't find a matching provisioning profile. Make sure the App ID in Xcode (Bundle Identifier) matches the one in your provisioning profile. If using Automated Signing, try revoking and regenerating certificates/profiles via
Xcode > Preferences > Accounts > Your Apple ID > Manage Certificatesor by refreshing your profiles (Right-click your Team > Download Manual Profiles). - 'Missing private key for signing certificate': Your private key is not in your macOS Keychain. This can happen if you migrated Macs or deleted it. You'll need to re-import it (if you have a backup) or revoke and regenerate your certificate (which will generate a new key pair).
- 'A valid provisioning profile for this executable was not found': Clean your build folder (
Shift-Command-K), restart Xcode, and try again. Sometimes Xcode gets confused. Verify your device is registered in your developer account, especially for development profiles. - 'Code Signing Entitlements Error': If you've added new capabilities (e.g., Push Notifications, iCloud, Sign In with Apple), ensure they are enabled for your App ID on the Apple Developer website and that your provisioning profile has been regenerated to include these entitlements. Also, check that your
.entitlementsfile is correctly configured in your target's 'Signing & Capabilities' and 'Build Settings'.
Remember to always keep Xcode and your macOS up to date, as updates often include improvements and fixes related to code signing. When in doubt, cleaning your build folder and letting Xcode automatically manage signing for a simple test project can help isolate the problem.
Advanced Code Signing for CI/CD and Team Environments
For teams and CI/CD (Continuous Integration/Continuous Deployment) pipelines, code signing adds layers of complexity. While automated signing works well for individual developers, larger teams often adopt more controlled approaches.
Sharing Certificates and Profiles
In a team, multiple developers might need to share access to the same signing assets. For development, each developer will typically generate their own 'Apple Development' certificate. For distribution, you'll generally have one 'Apple Distribution' certificate shared among the team. The private key for this distribution certificate might be exported from one Mac and imported into others (e.g., CI server).
Xcode's 'Automatically manage signing' helps here by associating everyone with the team. Alternatively, you can use .p12 files to transfer certificates and their private keys. Remember, only share these securely.
Fastlane Match
Tools like Fastlane's match revolutionize code signing for teams and CI/CD. match stores all your certificates and provisioning profiles in a secure Git repository (or another source). It then automatically fetches and installs the correct signing assets onto your local machine or CI server, ensuring all team members and build agents are using consistent and valid signing identities.
This dramatically reduces 'Code Signing Hell' by centralizing and unifying the process.
Environment Variables in CI
When setting up CI/CD, you will often need to pass values like DEVELOPMENT_TEAM and specific CODE_SIGN_IDENTITY to xcodebuild via environment variables. This allows your build server to correctly sign the app without requiring Xcode's GUI interaction.
Example xcodebuild command likely used in CI (macOS 10.15+, iOS 9.0+):
In this setup, ExportOptions.plist would specify details like method (app-store, development, ad-hoc, enterprise) and teamID. This ensures repeatable and reliable builds across different environments.
Common Interview Questions
What's the difference between a Signing Certificate and a Provisioning Profile?
A **Signing Certificate** (e.g., Apple Development, Apple Distribution) verifies your identity as the developer. It's like your digital ID card. A **Provisioning Profile** bundles that certificate with your App ID and a list of authorized devices (for development/Ad Hoc) or distribution method (for App Store). It defines *who* (via certificate) can run *which app* (via App ID) on *what devices* (for development/Ad Hoc) or for *what purpose* (App Store).
My app runs fine in the simulator but fails on a physical device. What's wrong?
This is almost always a code signing issue. Simulators don't require code signing because they aren't 'real' iOS devices. Check your 'Signing & Capabilities' in Xcode: ensure 'Automatically manage signing' is enabled (or manual settings are correct), your Apple ID is signed in, your device is registered in your developer account, and your Development Provisioning Profile is valid and contains your device's UDID. Clean your build folder (`Shift-Command-K`) and try again.
Why would I choose Manual Signing over Automated Signing in Xcode?
While Automated Signing is best for most, Manual Signing offers finer control. It's often used in complex team environments, specific CI/CD setups where certificates/profiles are managed externally (e.g., with Fastlane Match), or for advanced troubleshooting. Manual signing requires you to explicitly select the correct certificates and profiles for each build configuration and is more prone to human error but provides explicit management of each component.