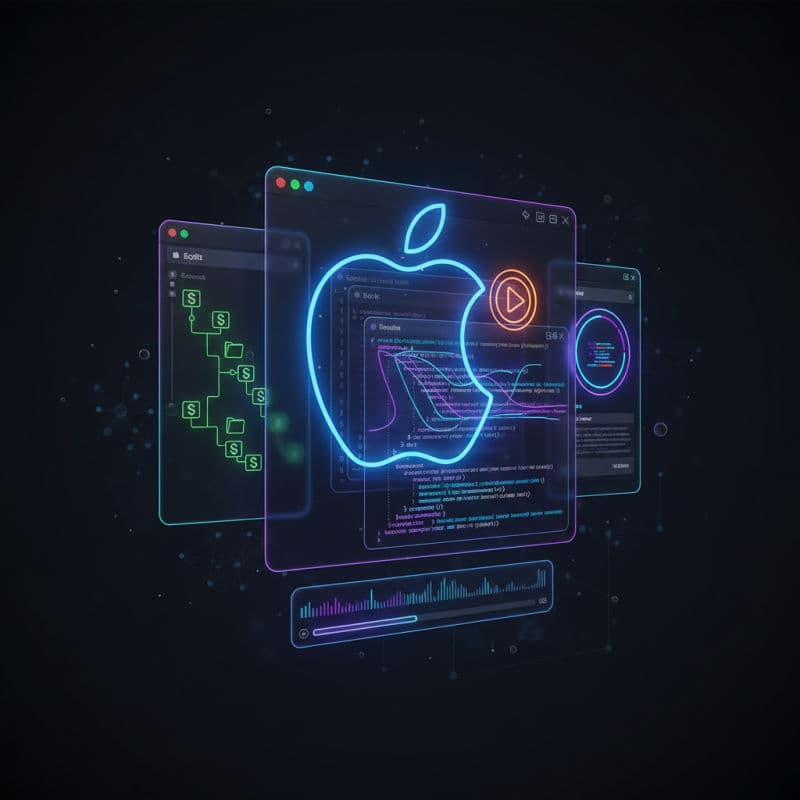
Mastering Xcode: Your Essential Guide to Apple Development
Xcode is the integrated development environment (IDE) that empowers you to create groundbreaking applications across all Apple platforms. Understanding its features, from code editing to debugging and UI design, is crucial for any aspiring or professional Apple developer. This guide will walk you through the essentials and advanced techniques to master Xcode.
Introduction to Xcode: The Heart of Apple Development
Xcode is Apple's comprehensive integrated development environment (IDE) for macOS. It provides all the tools you need to design, develop, debug, and deploy applications across all Apple platforms, including iOS, iPadOS, macOS, watchOS, and tvOS. From its powerful code editor and interface builder to its robust debugging and performance analysis tools, Xcode is an indispensable part of the Apple developer workflow.
First released in 2003, Xcode has evolved significantly, incorporating modern programming languages like Swift, frameworks like SwiftUI, and advanced tooling. It's not just a code editor; it's a complete ecosystem designed to streamline the app development process. Understanding how to navigate and utilize its various features efficiently is key to becoming a successful Apple developer.
Setting Up Your First Xcode Project
Starting a new project in Xcode is straightforward. When you launch Xcode, you're greeted with a welcome window allowing you to create a new project, open an existing one, or clone a repository. For new projects, Xcode offers various templates tailored for different platforms and application types.
To create a new iOS app, you'll typically choose the 'App' template under the 'iOS' tab. This template sets up a basic project structure with a ContentView for SwiftUI or a ViewController for UIKit, a SceneDelegate (for older projects or specific lifecycle needs), and an AppDelegate. You'll configure options like the project name, organization identifier (which forms your bundle identifier, e.g., com.yourcompany.YourAppName), interface (SwiftUI or Storyboard), and lifecycle (SwiftUI App or UIKit App Delegate).
Let's walk through creating a simple 'Hello World' app using SwiftUI. This will give you a basic understanding of Xcode's project structure and how to run your first application.
Navigating the Xcode Interface
Xcode's interface might seem overwhelming at first glance, but it's logically organized. Let's break down its main components:
- Navigator Area (Left Panel): This area provides various navigators for project files, symbols, breakpoints, tests, and more. The Project Navigator is where you'll spend most of your time, managing your files and folders.
- Editor Area (Center Panel): This is where you write your code, design your UI in Interface Builder or SwiftUI Previews, and view documentation.
- Inspector Area (Right Panel): This area displays contextual information about currently selected items in the Editor Area. It includes file attributes, UI element properties, and quick help.
- Debug Area (Bottom Panel): Appears when your app is running or paused by a breakpoint. It shows console output, debugger controls, and variable inspectors.
- Toolbar (Top Panel): Contains controls for running your app, selecting target devices, and managing schemes. The play button builds and runs your app, the stop button terminates it.
Understanding how to effectively use each of these areas will significantly boost your productivity. For instance, using the jump bar in the editor can quickly navigate between methods, and the inspectors allow for rapid UI adjustments without touching code.
Building, Running, and Debugging Your Applications
Once you have your project set up, the next step is to build and run it. You can select a target device (simulator or physical device) from the scheme dropdown in the toolbar. Clicking the 'Run' button (the play icon) will compile your code, link frameworks, and deploy your app to the selected target.
Debugging is a critical skill for any developer, and Xcode provides powerful tools for it. You can set breakpoints by clicking on the line number in the source editor. When execution reaches a breakpoint, the app pauses, and the Debug Area becomes active, allowing you to inspect variables, step through code, and examine the call stack.
Xcode's debugger is integrated with LLDB, offering a command-line interface for complex debugging scenarios. You can also use Quick Look for visual inspection of variables, invaluable for UIKit views, SwiftUI views, images, and other complex data types. The Debug Navigator helps you understand thread backtraces, identifying where execution is currently paused.
Here's an example demonstrating basic debugging with a breakpoint and printing to the console.
Interface Builder and SwiftUI Previews for UI Design
Xcode offers two primary ways to design user interfaces: Interface Builder for UIKit and SwiftUI Previews for SwiftUI.
-
Interface Builder (Storyboards/XIBs): This visual tool allows you to drag-and-drop UI elements (like buttons, labels, text fields) onto a canvas, arrange them, and set their properties. You can define layout constraints using Auto Layout to ensure your UI adapts to various screen sizes. Interface Builder is excellent for visual layout, but can become cumbersome on large projects or with complex dynamic UIs.
-
SwiftUI Previews: For SwiftUI projects, Xcode provides a live canvas that renders your SwiftUI views directly within the editor. As you write SwiftUI code, the preview updates in real-time, offering instant feedback on your design. You can also create multiple previews with different configurations (e.g., dark mode, different device sizes, accessibility settings) to test responsiveness and appearance. This tight integration between code and design is a hallmark of SwiftUI development.
Both tools enable efficient UI development, but SwiftUI Previews generally offer a faster iteration cycle due to their live nature and code-centric approach. SwiftUI Previews were introduced in Xcode 11 (iOS 13+).
Source Control Integration with Git
Xcode has robust, built-in support for Git, the most popular version control system. This integration allows you to manage your code changes, commit, push, pull, and create branches directly from within the IDE, eliminating the need for external Git clients in many cases.
When you create a new project, Xcode often prompts you to create a Git repository. You can also initialize a repository for an existing project via File > Source Control > New Git Repositories.... The Source Control navigator in the left panel provides a visual representation of your branches, tags, and remotes. The Source Control menu bar item offers commands for committing, pulling, pushing, branching, and merging.
Committing changes is as simple as selecting Source Control > Commit... or using the keyboard shortcut ⌥⌘C. Xcode presents a clear view of your modified files and allows you to write a commit message. Tracking changes over time, reverting to previous versions, and collaborating with a team becomes much more manageable with Xcode's integrated Git tools.
Advanced Xcode Features for Productivity
Beyond the basics, Xcode offers a suite of advanced features designed to boost your productivity and improve app quality:
- Scheme Management: Schemes define targets to build, configurations to use (Debug/Release), and executable arguments. You can create custom schemes for different environments or testing scenarios via
Product > Scheme > Manage Schemes.... - Asset Catalogs: Manage all your app's images, app icons, and colors in one place. Xcode's asset catalogs (
.xcassets) automatically handle different resolutions and color spaces, simplifying asset management (available since Xcode 5 / iOS 7). - Localization: Xcode provides excellent support for localizing your app into multiple languages, allowing you to manage strings and other resources directly within the IDE (available since Xcode 5 / iOS 7).
- Testing: Xcode integrates with XCTest, Apple's testing framework. You can write unit tests and UI tests to ensure your app behaves as expected. The Test Navigator helps you manage and run your test suites.
- Instruments: A powerful profiling tool integrated with Xcode. Instruments allows you to analyze performance (CPU, memory, energy usage), identify leaks, and optimize your app's runtime behavior. It's an indispensable tool for creating high-performance apps.
- Snippets Library: The Code Snippets Library (available in the Inspector Area) lets you store and reuse frequently used code blocks. You can create your own snippets, making repetitive coding tasks faster.
- Refactoring: Xcode offers powerful refactoring capabilities, such as 'Rename,' 'Extract Method,' and 'Generate Missing Override,' helping you maintain clean and organized code effectively.
By leveraging these advanced features, you can significantly enhance your development workflow, create more robust applications, and identify performance bottlenecks early in the development cycle.
Essential Keyboard Shortcuts for Xcode
Mastering keyboard shortcuts can dramatically speed up your development process. Here are some indispensable Xcode shortcuts:
⌘R: Run your app.⌘B: Build your project.⌘.(Command-period): Stop running your app.⌘Shift K: Clean build folder.⌘0(zero): Toggle Navigator Area.⌘⌥0(Command-Option-zero): Toggle Inspector Area.⌘Shift Y: Toggle Debug Area.⌘N: New file.⌘Shift N: New project.⌘F: Find in current file.⌘Shift F: Find in project.⌥⌘[(Option-Command-left bracket): Move selected lines up.⌥⌘](Option-Command-right bracket): Move selected lines down.⌃I(Control-I): Re-indent selection.⌘/: Comment/uncomment selected lines.
Practice these shortcuts regularly, and they will become second nature, greatly improving your coding efficiency.
Troubleshooting Common Xcode Issues
Even seasoned developers encounter issues with Xcode. Here are some common problems and their solutions:
- "Build Failed" / Error Messages: Carefully read the error messages in the Issue Navigator (the red exclamation mark icon). Xcode's error reporting is generally quite good, often suggesting fixes. Common causes include syntax errors, missing frameworks, or incorrect project settings. A 'Clean Build Folder' (
⌘Shift K) followed by a build often resolves transient issues. - Simulator Not Launching / App Crashing on Launch: Check the device logs (in
Window > Devices and Simulatorsunder the 'View Device Logs' button). Ensure your deployment target (in project settings, e.g., iOS 15.0) is compatible with the selected simulator/device. Sometimes, resetting the simulator content and settings (Simulator > Erase All Content and Settings) helps. - Xcode is Slow / Consuming Too Much Memory: Close unnecessary Xcode instances or projects. Check Activity Monitor for other resource-intensive processes. Restarting Xcode can sometimes alleviate memory pressure. Ensure your macOS is up to date and your Mac meets the recommended specs for Xcode.
- Previews Not Rendering: For SwiftUI Previews, ensure your code compiles without errors. Incorrect
@mainor inconsistent view declarations can prevent previews from working. Sometimes a 'Refresh All Previews' (from the Debug bar above the canvas) or a clean build is necessary. Ensure you have the correct canvas enabled (Editor > Canvas). - Source Control Problems: If Git is acting up, open Terminal within your project directory and try basic Git commands manually (
git status,git pull, etc.) to diagnose. Ensure your Git configuration in Xcode Preferences (Xcode > Preferences > Locations > Command Line Tools) is correct.
Familiarize yourself with Xcode's logging (Window > Devices and Simulators) and the Build Report (in the Report Navigator) for deeper insights into build and runtime issues. Online communities like Stack Overflow and Apple's developer forums are also invaluable resources for troubleshooting.
Common Interview Questions
What is Xcode and why do I need it for Apple development?
Xcode is Apple's free integrated development environment (IDE) for building applications across all Apple platforms (iOS, macOS, watchOS, tvOS). You need it because it provides the essential tools: code editor, UI designer (Interface Builder/SwiftUI Previews), debugger, profiler (Instruments), and asset management, tailored specifically for Apple's ecosystem and languages like Swift and Objective-C.
Is Xcode only for Swift, or can I use other languages?
While Xcode is optimized for Swift and Objective-C, you can develop applications using a mix of these languages. It also supports C, C++, and various scripting languages for build phases. However, for native Apple app development, Swift is the modern and recommended language, with Objective-C still prevalent in legacy codebases.
What's the difference between SwiftUI and UIKit in Xcode?
UIKit is Apple's older, imperative framework for building user interfaces, primarily used with Storyboards/XIBs in Interface Builder. SwiftUI, introduced in Xcode 11 (iOS 13+), is Apple's declarative UI framework. It allows you to describe your UI with Swift code, offering benefits like live previews and cross-platform compatibility. Both are fully supported in Xcode, but SwiftUI is the future of Apple UI development.
Can I develop iOS apps on a Windows or Linux machine using Xcode?
No, Xcode is an exclusive macOS application. To develop iOS, macOS, watchOS, or tvOS applications using Xcode, you must use a Mac running a compatible version of macOS. There are no official versions of Xcode for Windows or Linux. Cloud-based macOS environments or hackintoshes are sometimes used, but they are not officially supported by Apple.
How do I update Xcode?
You can update Xcode via the Mac App Store. Simply open the App Store, navigate to the 'Updates' tab, and if an Xcode update is available, you'll see a button to install it. Sometimes, new major versions of Xcode are released alongside new macOS versions and might require a manual download from the Apple Developer website if not immediately available in the App Store, or if you need a specific older version.